
As we prepare for our new normal and do our best to embrace the changes of the past two months, CPiF has started a new blog series to help our community navigate this uncharted territory and face the challenges ahead.
Last week we talked about how to price your work for profit. This week we reached out to two of our good friends and professional photographers, Dorin Vasilescu and Olga Makarova, who have both generously shared in-depth guides for taking high quality photos of your products for your online shop.
Since we want to make sure to cover all the bases, we’ve broken this topic into two separate posts. In this post Olga will show us how to use your DSLR camera to the best of its abilities to get clear and well-lit photos of our products. Also, be sure to check out PART I of this series with Dorin to learn the best ways to use your smartphone for product photography. We are so grateful that they were able to find the time to share their expertise and insider tips.
INTRODUCTION
As we know, having great photos of our products is just as important as the work itself. When you are selling online it’s essential to help your customers truly understand all the attributes and details of your design. Your photos are an extension of the quality of the products you are creating.
Of course, nothing will replace a professional photographer but if you have a DSLR camera here are some tips to help you use it a bit better.
YOU WILL NEED
- Camera – DSLR (digital) with the ability to manually set the exposure
- Lens – ideally macro or standard lenses such as 70mm or 85mm. If you have larger products such as shoes or bags, you can also use a 50mm and crop the photo later if necessary. It’s best not use lenses wider than 50mm for a full frame camera, or 35mm for an APS-c camera/сropped sensors
- Tripod
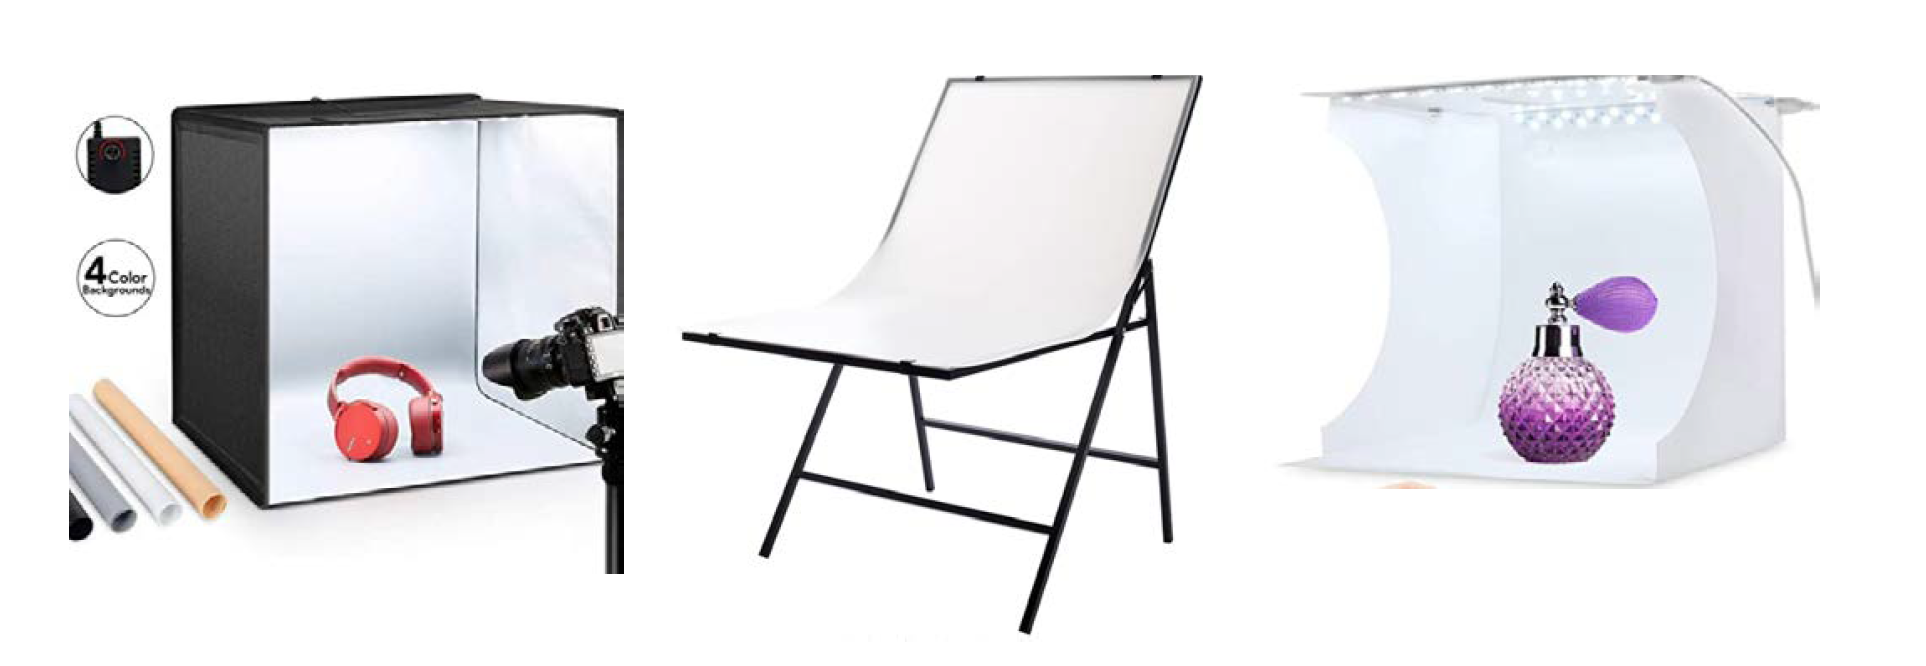
- Still life table or Lightbox – the size depends on the size of your product. You can buy an inexpensive table or box on Amazon. There are options of boxes with built-in lights, but it’s best to choose an option that gives you the option to shoot from above and from the sides. These boxes can be rotated to shoot from all angles.
LIGHT
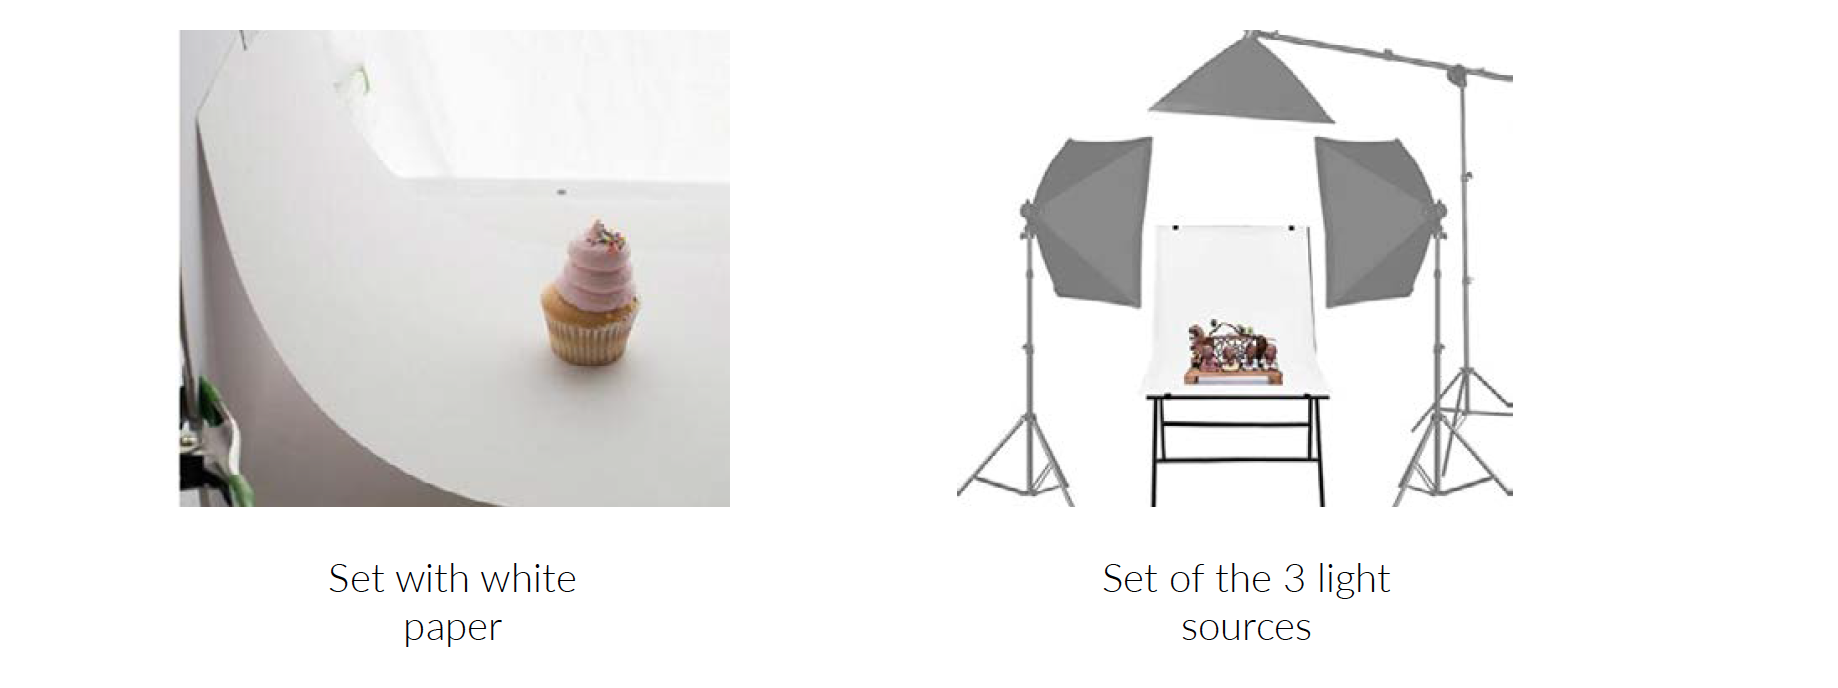
If you decide to use a table or box without built-in lights, then you will also need to purchase a light, preferably a strobe studio light. Also, don’t forget a wireless radio trigger to synchronize your camera with the light. You can buy a low-cost set of 2/3 light sources, for example, from Neewer on Amazon, which will cost you about 200-300 euros (the set includes stand/tripods, umbrellas, or softbox).
A slightly cheaper version would be a flash light from a lower-cost source, such as the Neweer NW565EX or Yongnuo YN560, which will cost you about 60-70 euros each. It’s best to first check your camera to make sure it will work with this type of flash, but in general, they work with almost all cameras.
If you don’t want to complicate your life, you can start just with 2 light sources.
In addition to flashes, you will need:
- • wireless flash triggers to synchronize the camera with flashes
- 2 stands/tripods
- 2 white umbrellas
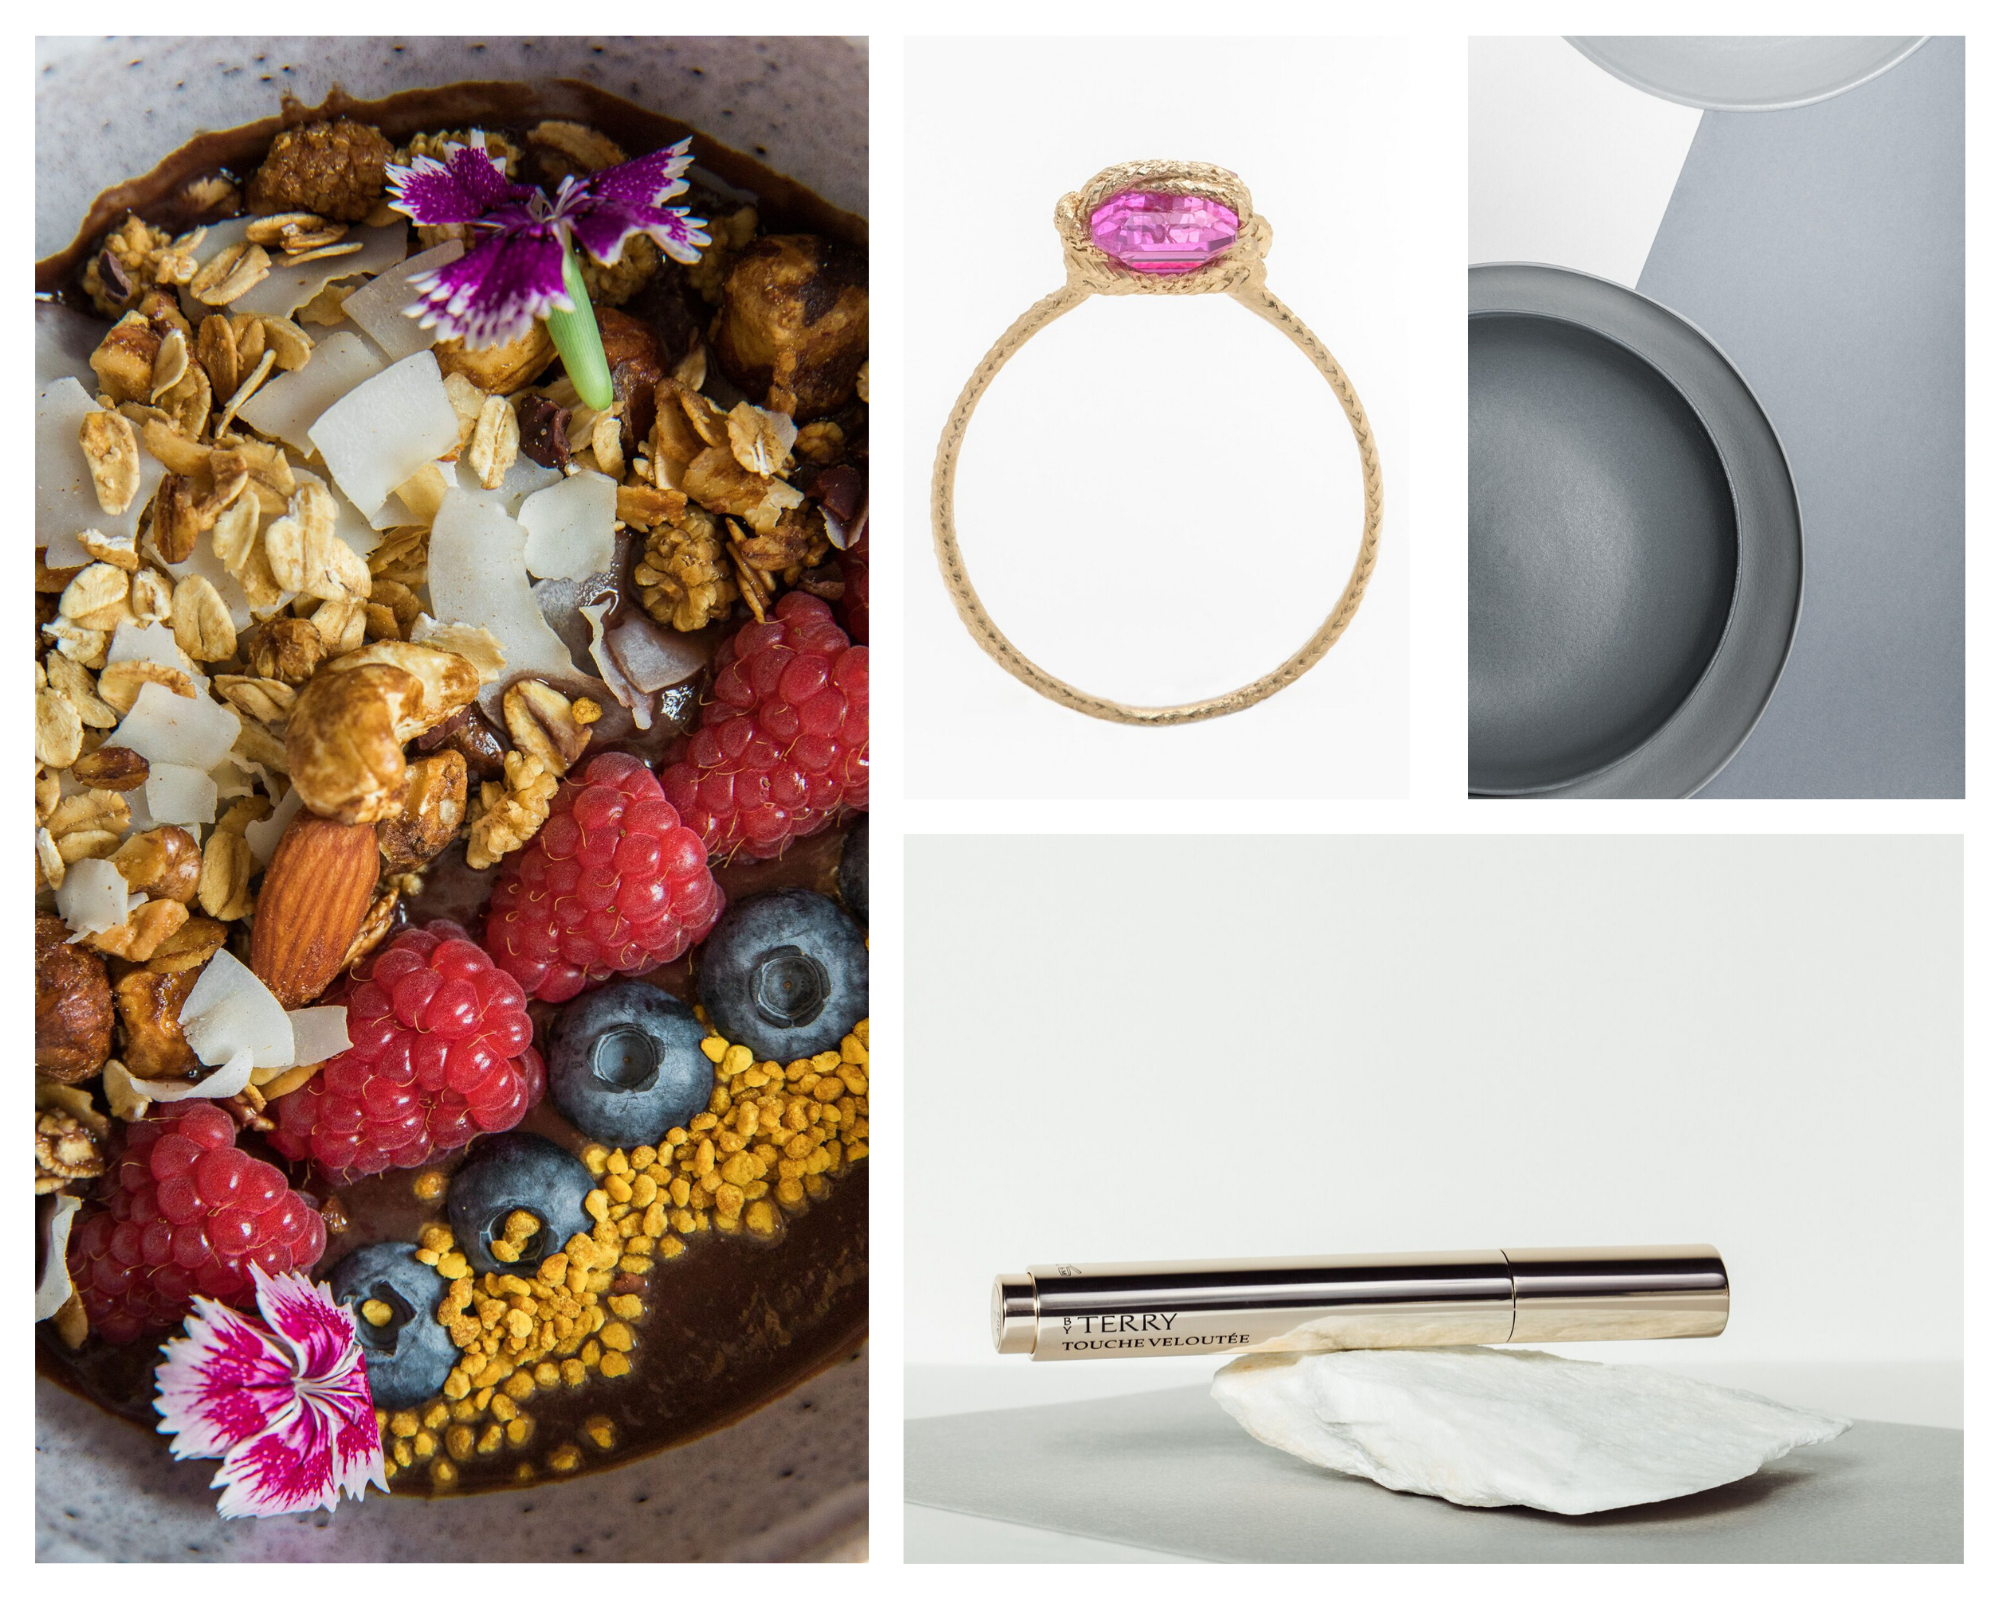
However, to achieve the best results, especially if your products are glossy, metal, or jewelry with stones, then using 3-4 lights can give you a more interesting photo.

STEP 1 – TABLE/BOX SETUP
Setup the table or box. If you have a glossy table or the corner of the box is too evident, then you can use a sheet of white paper to remove reflections on the glossy surface or smooth the corner of the box. It is best to choose a smooth sheet of paper rather than something with texture.
STEP 2 – LIGHT SETUP
Next, set up the lights and synchronize them with the camera. The power of the lights on the right and left sources should be the same, otherwise more pronounced shadows will appear on one side.
STEP 3 – CAMERA SETUP
Set the correct exposure on your camera in manual mode:
- An aperture of f/8 or more is best to pick up as much detail as possible
- The shutter speed should be no more than 1/160 unless you do not have enough light, in that case, try a slower shutter speed such as 1/100, 1/60 or lower.
- Iso 100 is ideal, but if the light is not very powerful, then you can raise it. But try not to go very high. This will create noise in the image.
- If your camera supports RAW format, then it is best to use it because it gives you more possibilities in post-production. If RAW is not an option then you can shoot in JPG format.
- Set the correct white balance. If you are using a flash/studio light, then set the appropriate parameter on the camera.
- For best results, use a 2-3 second timer on the camera. It can help you to avoid shaking of the camera while you press the shutter.
STEP 4 TEST SHOOT
Do some test photos to help you understand the best shooting angles and positions for your products. Check the light and exposure, and if you need to, add some reflector panels (you can use a white paper or foil paper) to highlight shadows. Further, I would advise you to download the test photos to your computer and check them on the big screen. If everything looks good, then go ahead and keep shooting your products. Don’t forget to take 3-4 different photos at different angles and positions of each new product.
FIND THE RIGHT POSITION FOR YOUR PRODUCTS
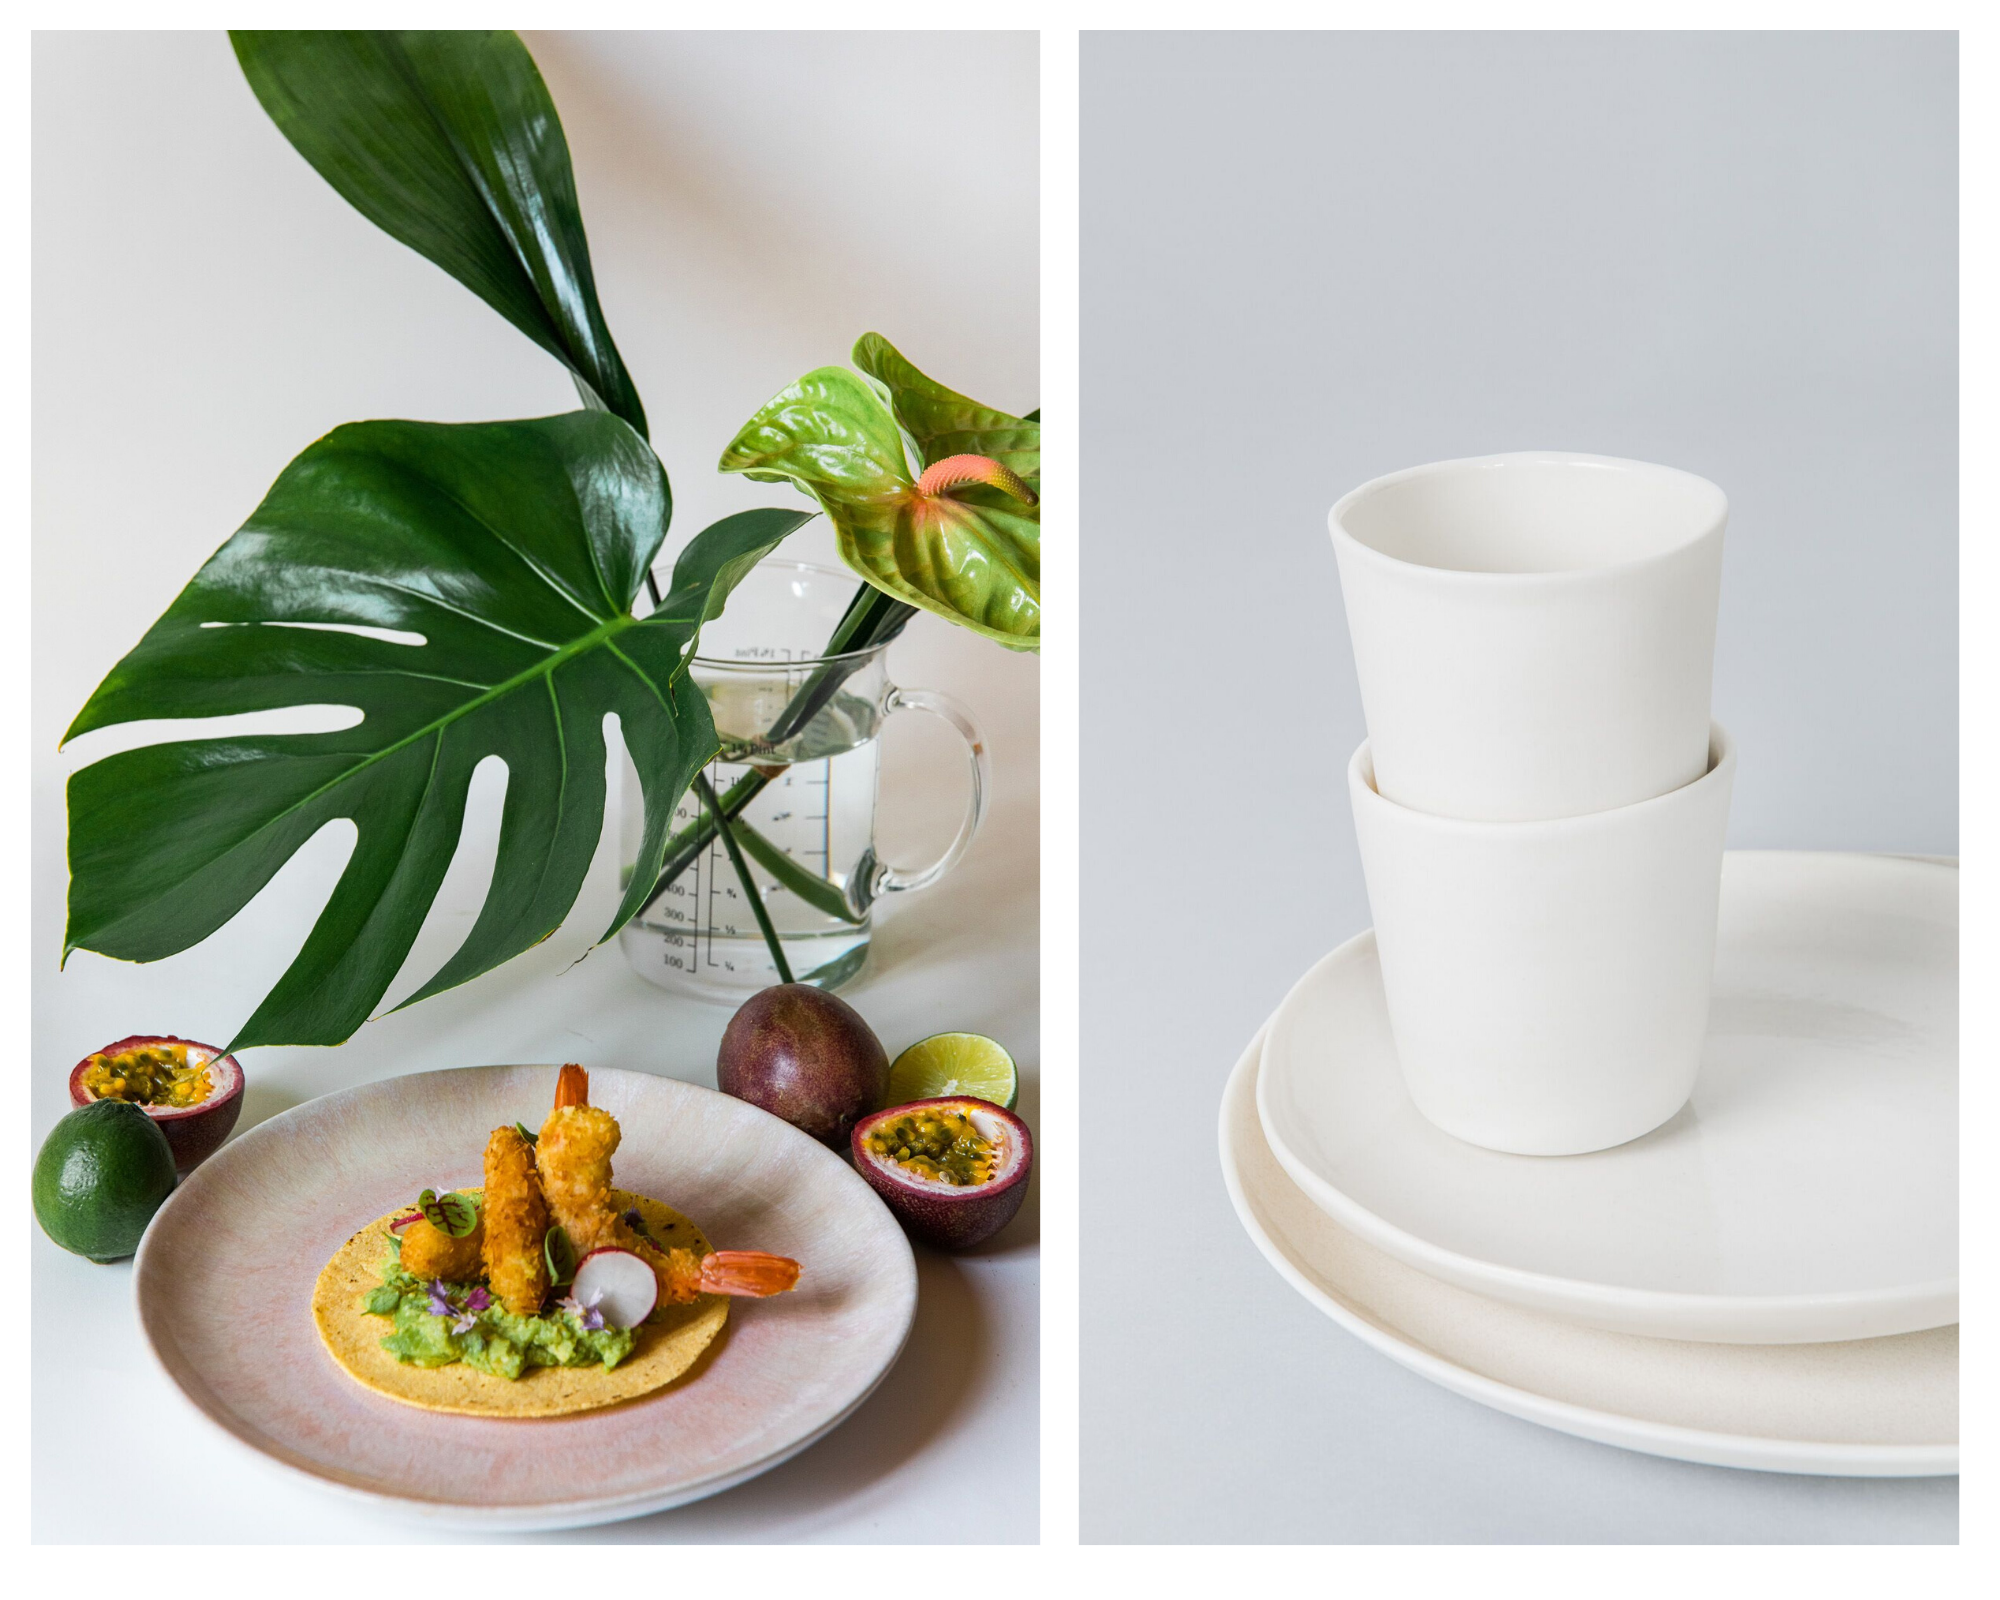
Be creative and improvise with your materials (an elastic, fishing line, thread, scotch tape) to fix the product in the correct position. Sometimes it takes a lot of patience to fix an object in the frame, especially for small products like jewelry. You can always remove this later in Photoshop. If you want more creative photos, instead of a white background, you can try different colors/textures or incorporate additional objects.
STEP 5 – POST PRODUCTION
After shooting, I advise that you do some standard post-production editing to adjust the white balance, crop the image if necessary, add a bit of contrast, reduce noise and sharpen your image.
CONCLUSION
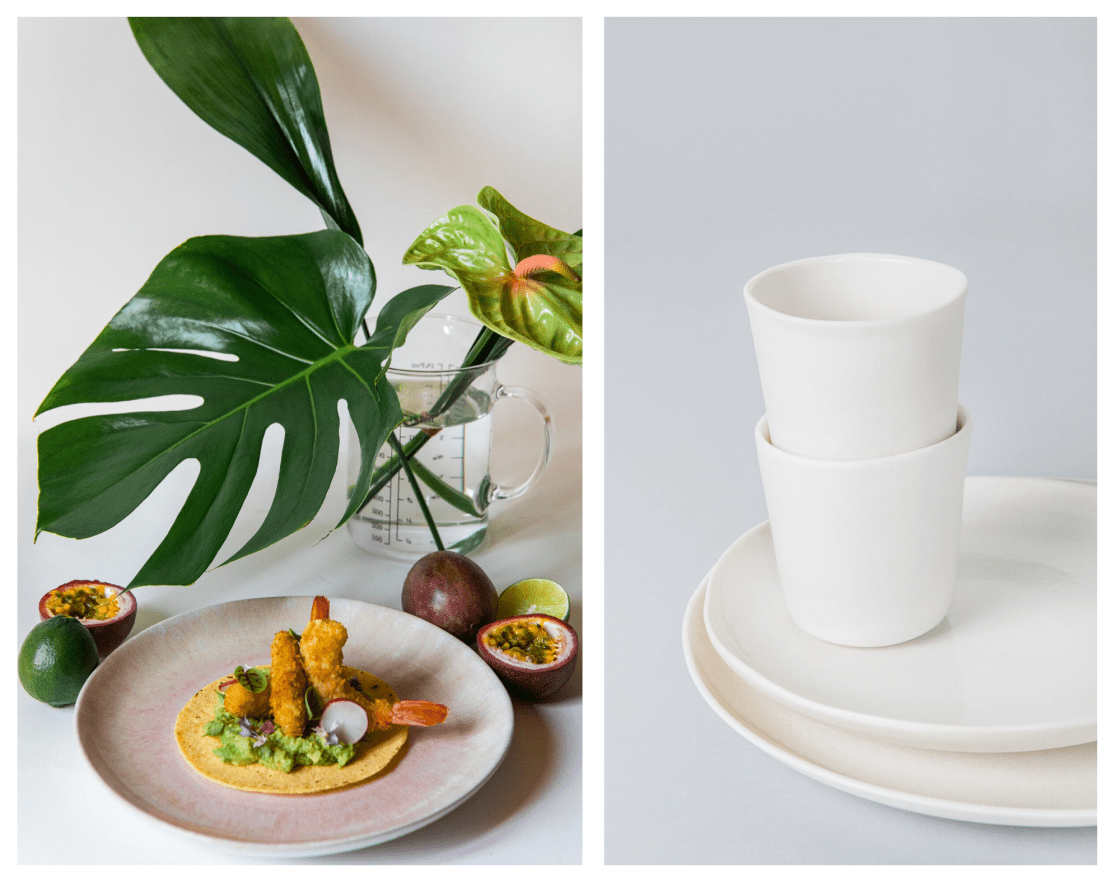
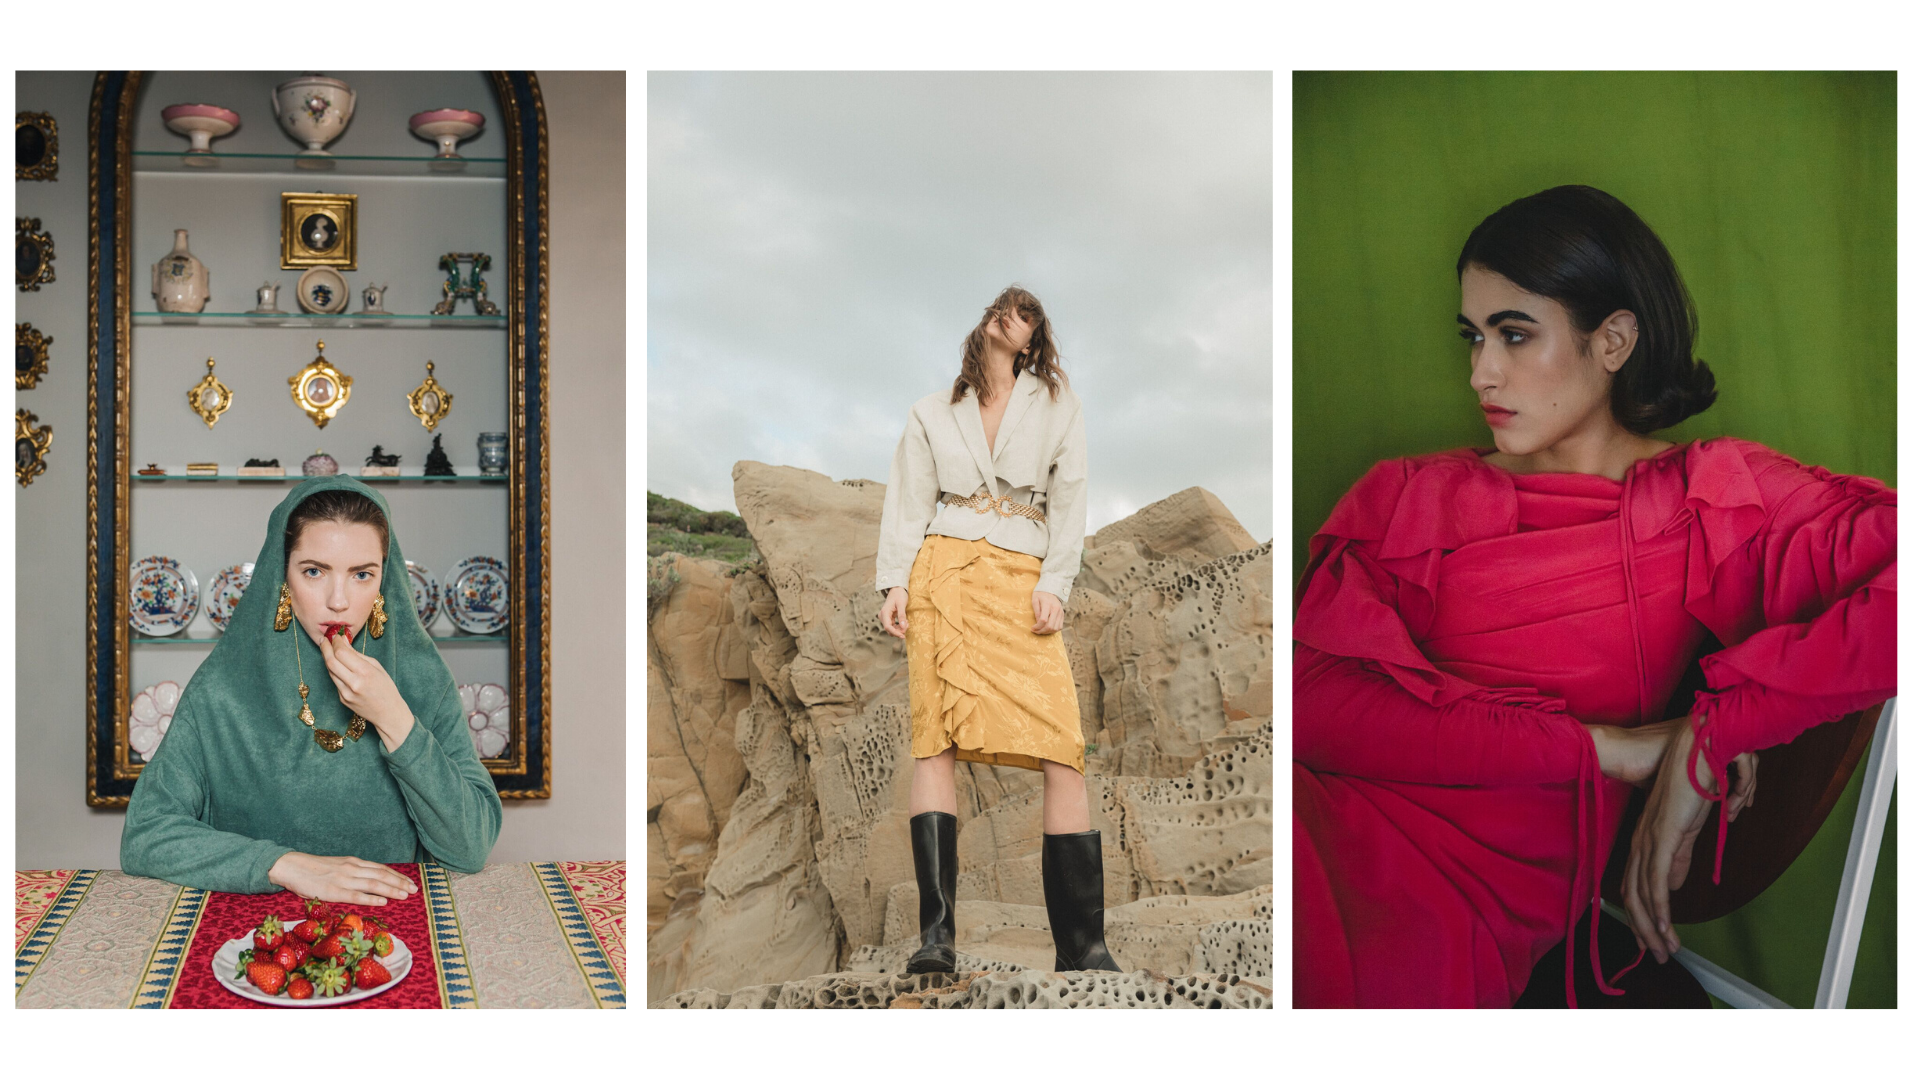
Not only can you use classic still life product photos for online sales and social network marketing but you can also try using a model incorporating or lifestyle images that can perfectly convey the dimensions and textures of your product or the ideal atmosphere or the philosophy of your brand.

2 Comments